


TL;DR — WordPress load balancing setup: (1) choose LB — Nginx (lightweight, good for small setups), HAProxy (battle-tested, advanced rules), AWS ALB / GCP LB (managed, easiest); (2) deploy 2+ WP nodes behind LB, share wp-content/uploads via NFS/EFS/S3; (3) centralize sessions via Redis or DB (no sticky sessions needed); (4) shared MySQL backend (RDS, Aurora); (5) SSL termination at LB (Let’s Encrypt or managed certs); (6) health check endpoint (/wp-admin/admin-ajax.php?action=heartbeat returns 200); (7) configure WP for X-Forwarded-* headers. Most enterprises use AWS ALB + ECS or Kubernetes for WP at scale.
Imagine your WordPress site surging with traffic from a viral post, Black Friday sales, or a major media mention. Without proper WordPress load balancing, servers choke, pages load slowly, and visitors bounce. Load balancing distributes traffic intelligently across multiple servers, ensuring lightning-fast performance, rock-solid reliability, and seamless scalability for high-traffic sites.
In this comprehensive guide, we’ll dive deep into WordPress load balancing strategies, from foundational concepts to advanced implementations. Whether you’re running an e-commerce store, membership site, or enterprise blog, these techniques will transform your infrastructure. At Belov Digital Agency, we’ve helped countless clients in the USA, UK, and Canada scale their WordPress sites effortlessly.
Understanding the Core Principles of Load Balancing in WordPress
Load balancing sits at the heart of high-availability WordPress hosting. It acts as a traffic cop, directing incoming requests to the healthiest servers while shielding your site from overload. Traditional single-server setups hit limits quickly—CPU spikes, memory exhaustion, and downtime become inevitable as traffic grows.
With WordPress load balancing, you achieve horizontal scaling: adding servers on-demand without interrupting service. This eliminates single points of failure and supports virtually unlimited growth. Key benefits include reduced latency, automatic failover, and cost optimization by matching resources to real demand.
How Load Balancers Work: Step-by-Step Traffic Flow
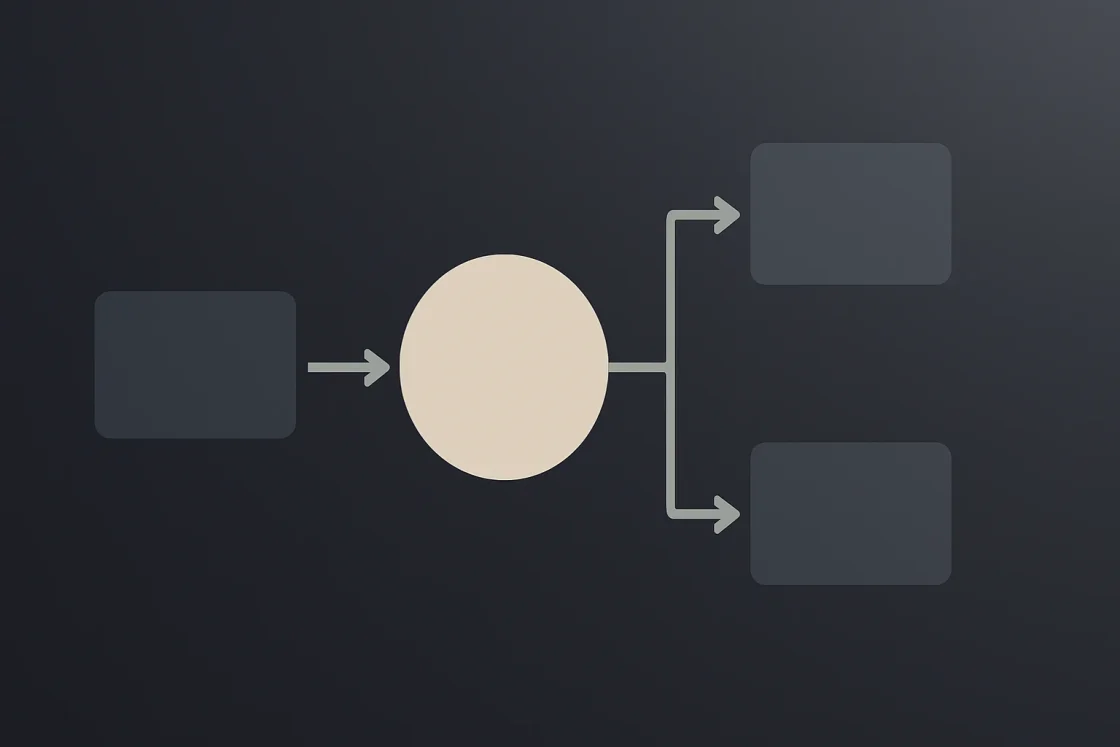
A typical request journey through a load-balanced WordPress setup unfolds like this:
- Client Request: Users hit your domain, routed to the load balancer instead of a single server.
- Traffic Distribution: Algorithms like Least Connections or Round-Robin assign requests to optimal servers.
- Health Checks: Continuous monitoring via HTTP, ping, or TCP ensures only healthy backends receive traffic.
- Sticky Sessions: For cart-based e-commerce, sessions persist on the same server to maintain state.
- Response Delivery: Servers generate dynamic content, cached layers serve static assets instantly.
This process, refined by providers like Pressidium, combines caching with balancing for sub-second responses even under massive loads.
Essential Algorithms for Intelligent Traffic Distribution
Choosing the right algorithm is crucial for effective WordPress load balancing. Each method suits different workloads:
- Round-Robin: Cycles requests sequentially—simple and fair for uniform servers.
- Least Connections: Favors servers with fewer active connections, ideal for variable request times.
- Response Time Weighting: Prioritizes faster servers, self-adjusting based on real performance.
- Resource-Based: Monitors CPU, memory, and I/O to prevent exhaustion—most advanced but resource-intensive.
- IP Hash: Routes based on client IP for session consistency without cookies.
For WordPress, Least Load variants shine, factoring in CPU/memory alongside connections, as implemented in Pressidium’s custom systems.
Advanced Load Balancing with Caching Layers
Top setups layer caching atop balancers. Pressidium’s Varnish integration checks “hot” in-memory cache first, then “warm” NVMe storage, bypassing servers for cached hits. This slashes latency by 90%+ for repeat visitors.
Similarly, Pantheon employs multi-layer caching: browser, reverse proxy (Varnish/Nginx), and object storage, serving 10,000+ requests/second from RAM alone.
Building a Stateless WordPress Architecture for Scaling
WordPress isn’t natively stateless—sessions, uploads, and cron jobs tie data to specific servers. Horizontal scaling demands externalizing state:
- Sessions to Redis: Shared caching prevents logouts across servers. Use a central Redis cluster, not per-server instances, for efficiency.
- Media to Object Storage: Offload files to Amazon S3 or similar—avoids sync issues.
- Database Optimization: Clustered MariaDB with read replicas; clean autoloaded options and transients to slim wp_options table.
- Disable WP-Cron: Add
define('DISABLE_WP_CRON', true);to wp-config.php, run system cron externally.
Check bloated options with SQL: SELECT option_name, LENGTH(option_value) FROM wp_options WHERE autoload='yes' ORDER BY LENGTH(option_value) DESC LIMIT 20; Disable non-essentials via UPDATE wp_options SET autoload='no' WHERE option_name='problem_option';
Real-World Case Study: Scaling an E-Commerce Site
One client, a USA-based fashion retailer, faced 50,000 concurrent users during sales. Pre-balancing: 5-second load times, 20% cart abandonment. Post-implementation with Kinsta hosting and HAProxy balancer:
- Three synced WP servers behind balancer.
- Redis for sessions, S3 for images.
- Varnish edge caching.
- Result: 200ms loads, 99.99% uptime, 40% revenue boost.
We documented the full setup in our scaling case study.
Step-by-Step Setup: Load Balancing on Scaleway and Beyond
Hands-on configuration mirrors Scaleway‘s tutorial:
- Create Load Balancer in same zone as instances; frontend port 80, backend HTTP port 80.
- Add two WP instances (e.g., IPs 10.45.2.3, 10.45.2.4) to backend with HTTP health checks.
- Update WordPress site URL to balancer’s IP/domain on each instance.
- Scale by snapshotting instances and adding to pool—no downtime.
For managed ease, Cloudflare Load Balancing integrates seamlessly, adding geo-routing and DDoS protection. Pair with WP Engine for enterprise-grade WordPress.
Hybrid Scaling: Vertical + Horizontal for Optimal Results
Start vertical (bigger servers), then horizontal. WP Farm recommends this hybrid: scale servers first, then balance for growth. Tools like DigitalOcean Load Balancers simplify with one-click deploys.
Monitoring, Alerts, and Optimization Best Practices
Sustainable WordPress load balancing requires vigilance:
- Performance Alerts: Thresholds for CPU >80%, response >500ms; escalate via Slack/Email.
- Cache Invalidation: Purge on updates; TTL by content type (static: 1 year, dynamic: 5min).
- CDN Integration: Offload statics to KeyCDN; edge caching for full pages.
- Database Tweaks: Limit revisions with
define('WP_POST_REVISIONS', 3);; delete expired transients.
At Belov Digital, we use New Relic integration for real-time insights. Cleavr’s guide highlights WordPlate for streamlined clustering.
Common Pitfalls and Fixes
Avoid these traps:
| Pitfall | Solution |
|---|---|
| Session Loss | Central Redis + Sticky Sessions |
| Bloated DB | Clean transients, autoloaded options |
| Cache Stale Content | Purge hooks + short TTL for posts |
| Uneven Load | Least Load algorithm + health checks |
Choosing the Right Tools and Partners for Your Setup
Managed hosts excel for non-devs:
- WP Farm: Integrated balancing + monitoring.
- Kinsta: Auto-scaling, global edges.
- Pressidium: Varnish + Least Load smarts.
For DIY, HAProxy or Nginx open-source balancers pair with Linode. Need custom implementation? Contact Us for a free audit.
Mastering WordPress load balancing future-proofs your site against traffic spikes. Implement these strategies, monitor relentlessly, and scale confidently. Your visitors deserve blazing speed—start optimizing today with Belov Digital’s expertise.