
As your website is your digital shop front, its aesthetics are essential.
When landing on your homepage, visitors decide in a split second whether they will stay on your site and explore your fabulous offers – or hit the back button and buy from your competitors. And this decision is largely influenced by the design of your site.
WordPress is one of the largest website creation platforms and Content Management Systems (CMS) in the world. The concept of themes makes it easy to quickly get a professional-looking site up with no coding skills required. There are tons of free and premium WordPress themes out there.
However, since themes are like templates, you might sometimes want to tweak details to suit the style of your brand. Or add your own functionalities.
How do you customize the design without affecting the functionality of your site? How do you safely alter the functionalities? What are the ways in which you can customize a theme, and the best practices?
In this guide, we’ll answer your questions to help you customize your WordPress theme in a simple and secure way. Let’s dive in!
Choosing a Theme
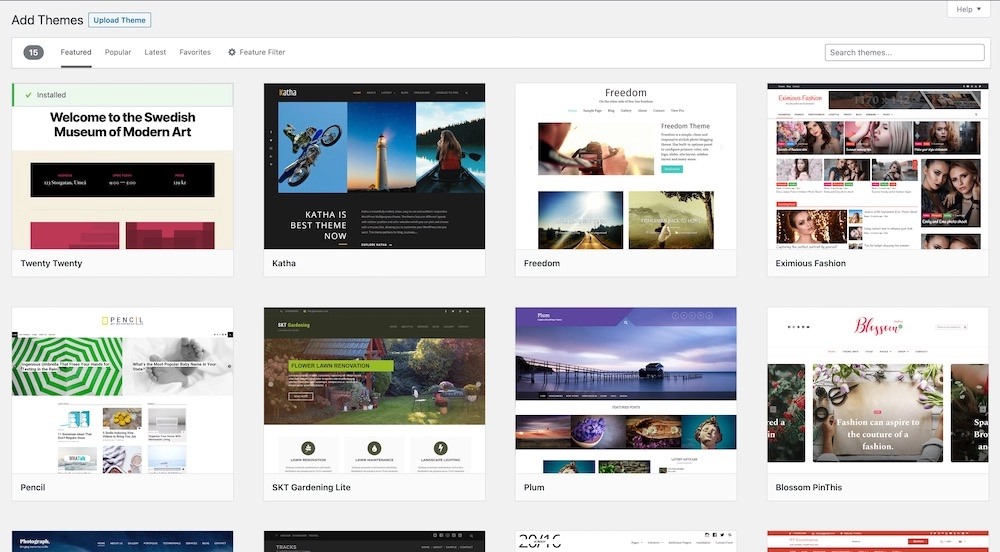
It goes without saying that the first step to customizing a WordPress theme is to have a theme to begin with.
So how do you choose a theme?
There are two main factors to a website: design and functionality.
The theme of your choice should have both the overall look and the functionality that you desire for your site, so that you have a solid foundation for customizing it! Customizing should be just that: adjusting the theme rather than rewriting it all over.
There are several considerations to take into account when selecting a theme, such as:
- Responsiveness: Is it mobile-friendly? Most themes are, and it’s a must today.
- Desired functionalities: What functions do you want from your site? Is the theme supporting all of these? For example, if you’re building an e-commerce site, your theme should come with features enabling this.
- Plugins: Is the theme compatible with the plugins you want to use?
- Ratings/reviews: What have other users said about it?
- SEO: Is the WordPress theme coded in a way that can boost your ranking?
- Page-builder/Framework: Is the theme part of a page-builder or framework? This can give you wider customization options with no coding needed, and the possibility to keep your edits when updating your theme.
Ideally, the theme that you want to customize should support all these features. We don’t wanna end up in a situation where we’ve tweaked the theme to perfection, only to find out that it’s not mobile-friendly… and we have to start all over.
What features are non-negotiables on your site when it comes to functionality? Design? Be clear on this and select the best WordPress theme possible for your needs.
Free Themes or Premium Themes?
When it comes to choosing your theme, the first choice is between free and premium themes.
Free themes should only be used from the official WordPress library at wordpress.org to make sure they are reliable.
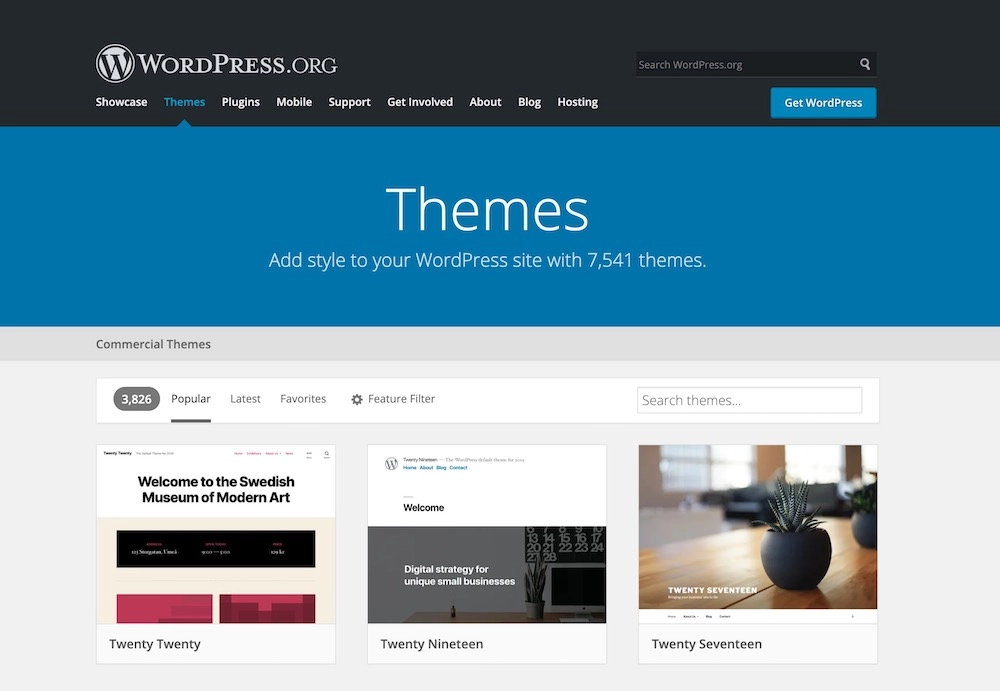
Some advantages of free themes:
- Affordable: Obviously, they’re free.
- Quality: Free WordPress themes have high quality since they go through a strict review process to adhere to the standards of WordPress.
However, bear in mind that a free theme also comes with
- Limited support, since the developers have created them for free.
- Lesser degree of uniqueness than paid themes – this can be something to be mindful about if you wanna create a strong visual brand that stands out.
- In general, fewer customization options than premium WordPress themes.
Why Customize?
It all depends on your vision with your site.
Maybe you’ve had your WordPress website for a while, and want to refresh the way it looks or add some functionality without changing the theme.
Or maybe you downloaded or purchased a theme and it didn’t have all the features you expected.
In both cases, customizing your theme is the way to go!
Looks or Logics?
There are two customization aspects to take into account:
- Visual/design-related, such as colors, fonts and buttons.
- Functionality/logics-related, such as adding a chatbot or image carousel.
For the design part: when you install a theme in WordPress, it has a set of pre-selected templates and stylesheets activated. There are a set of tweaks you can do within the theme to change the design aspects of your site according to your taste, without needing to change the theme. Exactly what is possible depends on the theme.
If what you wanna change is the functionality of the page rather than the design, you may want to look at a plugin. Plugins are like apps for your WordPress site.
You can get the desired functionality either by:
- Writing your own WordPress plugin.
- Downloading an existing one – there exist great plugins for all common functionalities.
- Purchasing a premium plugin.
- Making changes to the functions.php file. Note that in order not to lose your changes during an upgrade, this should be made within a child theme as described below.
For the sake of this article, we’ll focus on the visual aspects rather than the functional ones since they’re easily done through plugins.
Ways to Customize
If you’re clear on wanting to change something related to the design of your site rather than function, let’s look at different ways in which you can customize a WordPress theme.
Built-In Customizer
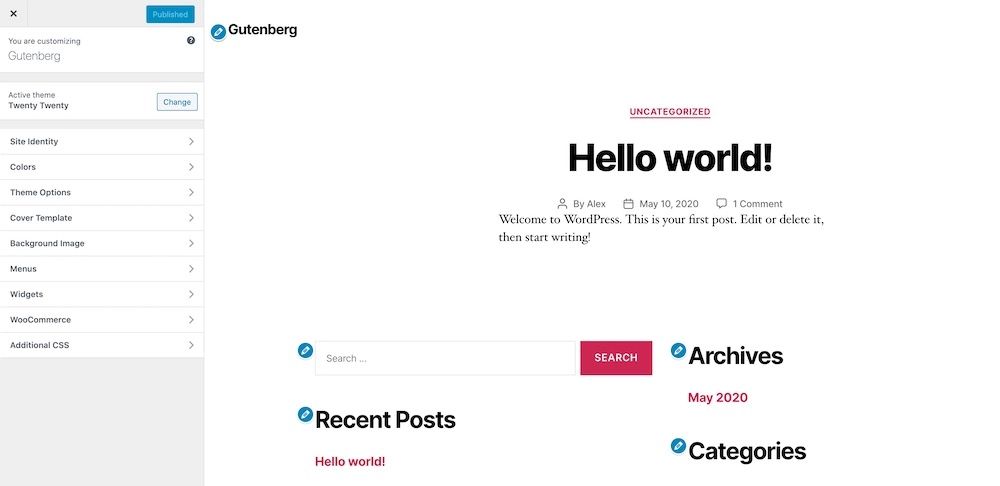
The most intuitive way to customize a theme in WordPress is by using the built-in customizer. Depending on how much flexibility the theme developers have allowed for, the extent to which you can tweak your site through this method varies.
To use the built-in customizer:
- In the dashboard, go to Appearance > Themes. By default, there are several themes installed but only one that is active. The thumbnail of the active theme has a button labeled Customize in the down right corner. Click this button.
- You’re redirected to the customization dashboard for this theme. Depending on its features, there are different parameters that you can tweak. For example:
- Site Identity: Here you can set things such as a logo, and Site Title and Tagline which are like the title and subtitle of your WordPress site. Where exactly these show up depends on the theme, but often it’s right at the top of the homepage – like a greeting to your visitors.
- Header image: The image shown in your header.
- Background image: The image shown beneath the header.
- Menus: Allows you to alter the position of the navigation menu.
- Additional CSS: Lets you paste your own CSS to play with the page design. This is obviously for those with at least basic coding skills – but if you know how to do it, you have almost endless possibilities! The handy interface lets you see any changes before you hit publish. All CSS you write here will be added on top of the existing CSS, so you won’t risk breaking anything.
Note that changes you make here can get lost with theme updates, so if you want permanent changes, you might want to look at one of the other methods instead. Updating your theme is important for security and performance reasons – you don’t wanna miss out on these, since performance parameters such as load time can determine whether your visitors stay or leave your site because it loads too slowly!
Also, customizations will be limited to this theme only, so if you want global CSS customizations, it’s better to use one of the other methods.
Page Builders and Frameworks
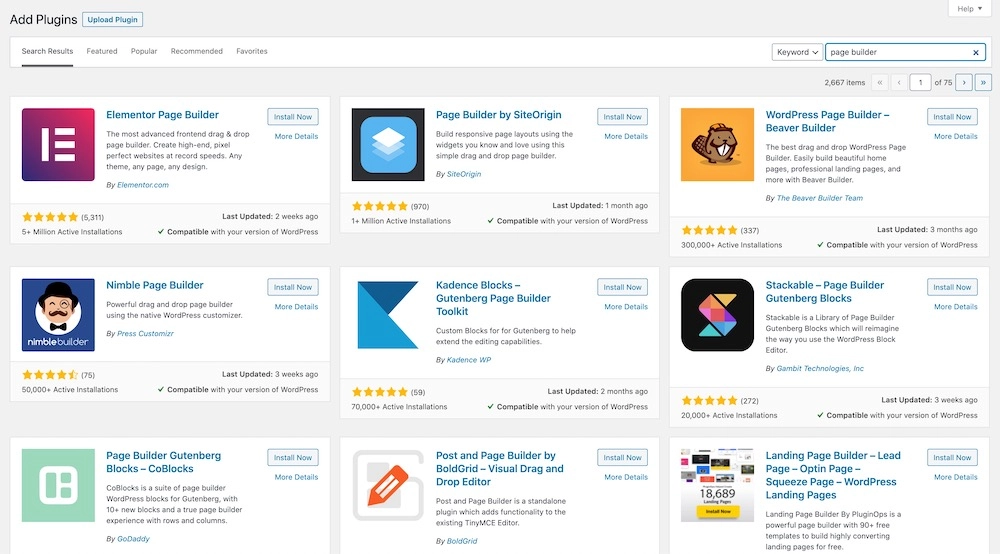
Page builders make the development procedure more visual rather than code-based, and thus greatly facilitates creating your own WordPress website without coding skills.
If you’re working on a page builder such as Elementor, you can use the built-in features to tweak the design. An advantage of this method as compared to using the built-in customizer is that changes will persist even when updating the theme.
Frameworks like Divi mean that the theme you select comes with some preset child themes. That way, you have a safe and simple way to customize your site to a greater extent than with an ordinary theme.
Theme Editor – Stay Away From It!
Under Appearance > Theme Editor, you have the possibility to edit the source code of the theme directly.
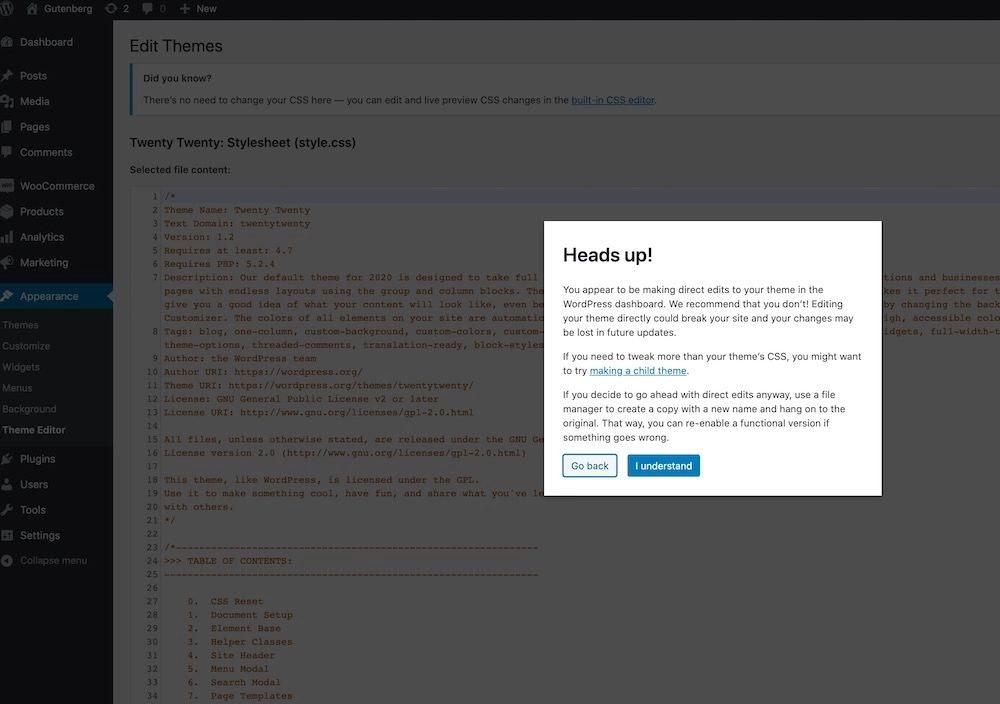
We – and WordPress – strongly advise against this.
This because:
- You alter the source code for the theme and risk permanently breaking your site
- Any changes you make will be lost with theme updates – and updates are recommended for security and performance reasons
Plugins
There are multiple WordPress plugins available allowing you to create custom CSS. Plugins are a great way to add custom CSS to your site since you’re sure that the customizations will still be there after upgrades – while if you write the code in the CSS files for the theme, it might get lost.
CSS Hero
CSS Hero is a premium plugin that makes it easy to edit the design of your site even without coding skills. With the drag-and-drop interface, you can edit each element of your page. You get a vast collection of fonts and colors to play around with.
Simple Custom CSS
As the name suggests, Simple Custom CSS makes it easy to use your own CSS with your theme. Styles will be kept through theme updates.
WP Add Custom CSS
With WP Add Custom CSS, you can apply your own CSS on multiple levels such as the whole site, or on pages or posts.
Modular Custom CSS
This plugin allows you to make global CSS changes that stay even as you switch themes.
Code Snippets (for Functionality)
Code Snippets makes your life easier by allowing you to run small snippets of PHP-code directly on your site, and activate/deactivate them like plugins through a visual interface. Normally, all changes must be included in the functions.php file – something you can bypass with Code Snippets.
Create a Child Theme
If you’re tempted by the freedom that comes with modifying the code files instead of using a plugin or the built-in customization, creating a child theme might be the way to go. To create a WordPress child theme, you need a basic understanding of HTML/CSS. Some fundamental knowledge of PHP is useful too.
Why not implement the changes in the theme’s CSS files directly? It’s never recommended since changes might be overwritten when you update the theme. Not cool.
That’s why creating a child theme is the safer approach. When you create a child theme, it inherits all the features from the parent theme, and you can easily add your own modifications on top. If you’re familiar with object-based programming, the parent-child theme relation follows a similar logic when it comes to inheritance.
Let’s say you add your own CSS file to the child theme for the homepage, but not for the About page. WordPress will then automatically use the same About page as for the parent theme and apply your new CSS to the homepage.
Debugging also gets easier – if you accidentally deleted something and the layout was affected negatively, you can just delete your child theme-CSS file and start all over.
We recommend that you start in your local development environment such as Local by Flywheel or WAMP. The steps to follow are then:
- Go to /wp-content/themes on your local hard drive.
- Open up a new folder for your child theme, named whatever you find suitable.
- Now let’s create your first CSS-file for your child theme. Open your text editor and paste the following snippet:
/*
 Theme Name:    My Child Theme
 Theme URI:	https://belovdigital.agency
 Description:   A Twenty Twenty child theme
 Author:   	Belov Digital Agency
 Author URI:    https://belovdigital.agency
 Template: 	twentytwenty
 Version:  	1.0.0
*/

@import url("../twentytwenty/style.css");
where you substitute twentytwenty in the last line and on the row Template: twentytwenty with the name of the parent theme. Save it as style.css in the folder you created.
This is the first essential step for creating a child theme!
The line Template: twentytwenty (or whatever your theme name is) tells WordPress that this is a child theme to the parent theme named twentytwenty. Notice that this is case sensitive, so writing something like TwentyTwenty won’t work.
The last line is also important since it imports the stylesheet of the parent theme.
You can then go ahead and create different CSS files in your child theme folder for different parts of your site.
Pro tip: A simple trick to see changes directly, without editing the code files, is by using the inspector available in most browsers such as Chrome and Firefox. Head over to your site, then right-click anywhere and choose Inspect. A sidebar will show up with the HTML in the upper half, and the corresponding CSS in the lower part. In Chrome, click the little icon with a window and a pointer arrow in the top left corner. Then click on any element on your page that you want to modify. The HTML and CSS for this element are now shown, and as you change the CSS, you’ll see the changes directly in your browser. If you like what you did then copy and paste the modifications to your stylesheet style.css.
- When it comes to altering functionality rather than pure design changes, you need to modify the child theme’s functions.php file. Just as for the stylesheets, it’s best practice to work in the functions.php of the child theme rather than the parent theme to avoid your changes getting lost with theme updates. We won’t go into the details on how to make changes to the functions.php file – just now that it’s a little more advanced option requiring basic coding skills.
Best Practices When Customizing
Following best practices is essential to:
- Avoid breaking the code and cause permanent damage to your site.
- Maintain the security of your site and protect it from attacks.
- Make sure you’re not irrevocably losing your changes.
Only Modify Code If You Know What You’re Doing
If your coding skills are rudimentary, it’s safer to customize your WordPress theme by using the built-in customizer. Only touch the code if you’re familiar with CSS (for the design part) or PHP (for the functionality).
Use a Local Development Environment
When editing the code, such as when you build a child theme, always make any modifications in a local development environment. That way, you won’t break anything on your site. Install your theme and copy any content from your site so that you have a toy version of your site that you can safely play around with. This is also the safest option when using the built-in customizer.
Once you’re happy with a change, you can integrate it to your live site.
Use Version Control
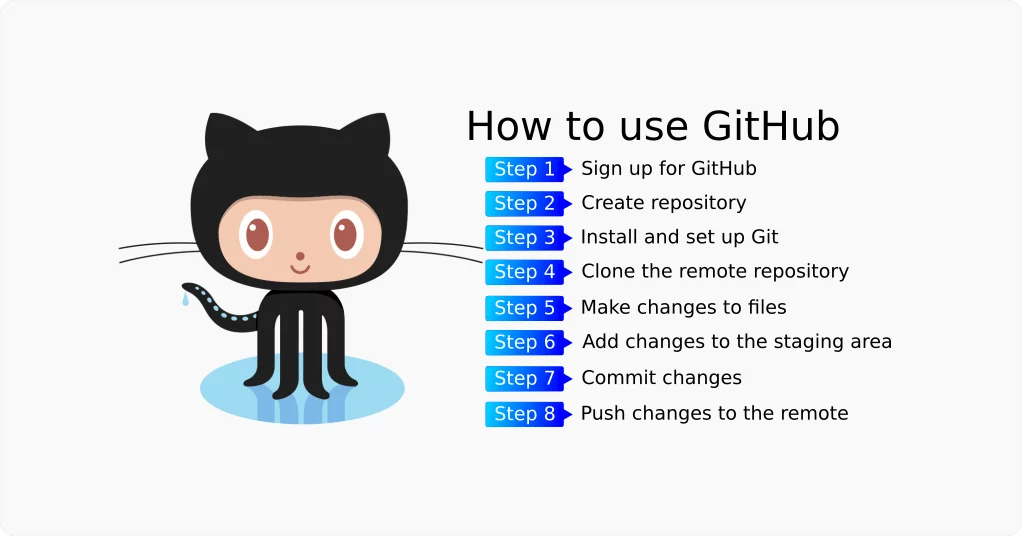
As always when coding, use a version control service such as GitHub to keep track of your edits. This way, you can easily go back to the previous version if something goes wrong.
Version control also comes in handy to segment work when working in a team.
Make Sure Your Edits are Responsive
All sites need to be responsive these days, so make sure that your modifications look good on tablets and mobile screens as well. More people are accessing the internet from their phones and Google has introduced a mobile-first index, meaning your site gets punished if it’s not responsive – so it’s actually more important that your site looks good on a mobile screen than on desktop!
Tools such as BrowserStack help you see if your changes are satisfactory on all screen sizes.
Which Way is Best for You?
How you should go ahead customizing a WordPress theme depends on a variety of factors, such as:
- Your coding skills.
- Whether you want changes to apply to multiple themes or only one theme.
- Whether you want to edit functionality or design.
- If you’re using a page-builder/framework theme or not.
A good idea before you go ahead and modify the code is to ask yourself if there’s a simpler way to achieve what you want. Since WordPress is huge, there’s already a plugin or built-in customization option available for most functionalities and design tweaks.
As long as you follow the above-mentioned best practices, you should avoid any unnecessary headaches such as losing edits or breaking your site.
Wrapping it Up
WordPress comes with almost endless possibilities when it comes to customizing your site. You’re not limited to the design and functionalities within a theme – with or without coding skills, you have a lot of room to build new elements and tweak existing ones to get a site that suits your taste and can fulfill your business goals.
If you wanna go ahead and learn how to build a WordPress site, we’ve got you covered. Also, make sure to follow us on Facebook and Twitter to get all the new posts as soon as they come out.
And if you liked this article, please share it with someone in your network who might benefit from it!


