

WordPress has all sorts of ingeniously designed, creative-looking, appealing and stylish themes. However, it is not always an easy job to find one that would meet all your requirements. To build a site that would be to your taste, you need to go through a lot of tinkering in all sorts of detail to fine-tune everything. If there is going to be a lot of customization with all the styles and features, why do so when you can create your custom WordPress theme?

Creating a whole new theme by yourself? On WordPress, where there is already an overwhelming abundance of options? But they are ready-made specifically for you to do as few things manually as possible!
That is an understandable astonishment. The whole thing does seem like some excessive pickiness. But if you think of it, would you rather force yourself to settle on a compromise or develop a gorgeous design no other person (or actually, website) has?
You do want to be unique when designing a website; so, the choice to create a new custom theme may have solid ground under it.
Since you have come to such a decision, you have most likely tried a lot of things on WordPress so far. You chose to develop a theme – that is quite a self-challenging approach! Maybe you couldn’t find an appropriate one among the existing options. It could also be for your willingness to go into the depth and detail of how things work on WordPress. Whatever the reasons, we support your attitude. Let’s dive right in and try to create a theme together. Follow us: we will walk you through the main steps.
Prearrangements
Your website can be on WordPress.com or WordPress.org. In our post on developing a WordPress site, we explain the difference between these two. In short: the latter allows for more flexibility, but the process is a little more complicated. But don’t you worry, it is a matter of just a few simple steps; let us walk you through it.
We know it is tempting to skip these steps and have it all done for you. But be patient: doing everything from the very beginning will help you a great deal in understanding all the processes. And preparing the ground is not even going to take you more than a few minutes.
We must say it does come more naturally if you feel comfortable with PHP, HTML, CSS – with coding in general. This is going to be more like being a developer rather than a designer. But it is no nuclear physics; so, don’t be afraid. With our help along the way, you will master it.
Here’s a disclaimer: it will take some time. If you prefer a faster way, we have a loophole for you: in the From a starter theme paragraph, we provide an alternative way – creating a custom WordPress theme with, so to say, a template.
Local environment
Alright, first, you need to establish a local development environment and install WordPress if you haven’t done it already. If you have, skip the next few paragraphs and jump ahead to Theme from scratch.
There are automatic install scripts for it available for your convenience. Since WordPress is an incredibly popular CMS, many providers use them to turn the entire installation process into a single click. One of the most convenient ways is to use LocalWP. This is a very friendly local environment app for both Windows and Mac OS made by awesome hosting provider FlyWheel.
The process is straightforward, and you will have everything you need including the database editing option, the database itself and so on.
What good will the local environment do? Well, if you are the host of your website, you can manage things locally without causing any trouble on the actual website. When you first make changes on the local site, you do not interfere with the user experience of those who are on the website at the same moment.
WordPress
Now, you want to download WordPress. As we mentioned, we choose the dot-org version. If you considered all the pros and cons of both and decided on the dot-com one, you are welcome to do so: that will eliminate the need for hosting. In that case, we recommend using a staging website to try things out before launching. For now, we will keep on with the former.
On your server, create a MySQL database and its user (in LocalWP, it happens along with the installation; so, you wouldn’t need to do anything, even download the WordPress itself).
Create a folder for it on your computer and make sure your localhost is pointing to it. Unzip the downloaded archive and begin the installation.
Good job, your workspace is all set! This is where we will start with the theme.
There are two approaches to it:
1. You make everything by yourself (and by everything, we mean everything).
This one is great for learning the fundamentals of web development.
2. You use the built-in functionality.
This is simpler: you will need less background knowledge, and the look of everything will be more familiar.
Choose your path, and get ready for the fun part.
1. Theme from scratch
What comprises a WordPress theme? In a nutshell, it is what there is and how it looks. The answer for the first is in the index.php file, and the second is in the style.css. These are the template files required in all themes.
Building the base
In the directory where you have your WordPress installed, find the wp_content directory. Note that all our work now takes place only here. Editing files outside of it can mess up the core information and cause a lot of trouble.
1. Folder
In that directory, find the themes folder and open it. This is where your custom theme will reside.
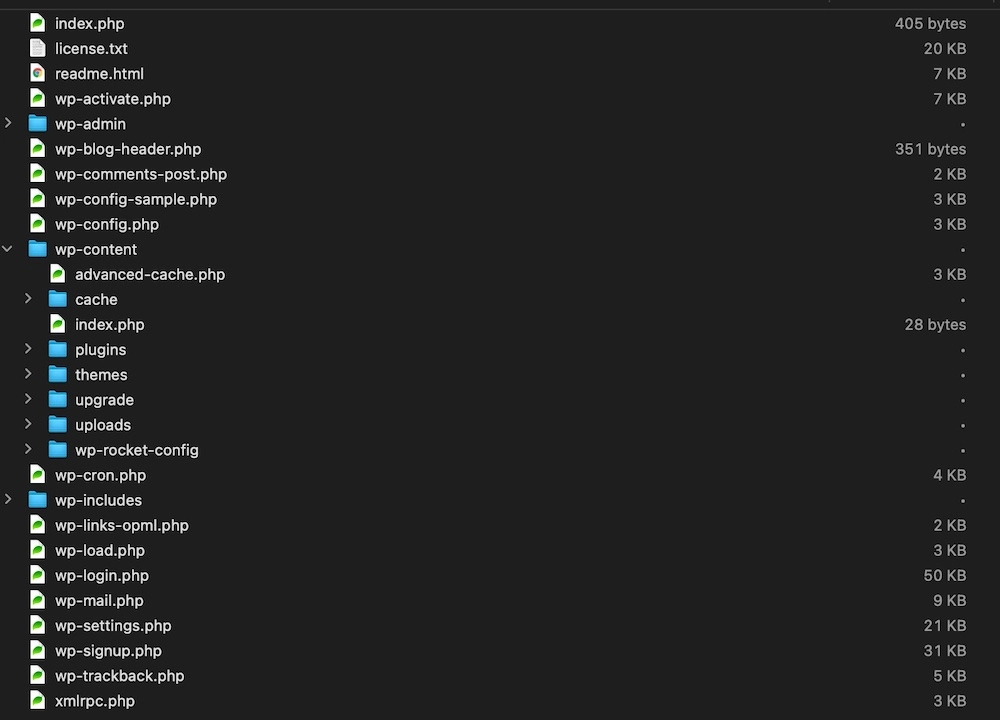
It needs its own folder so that WordPress doesn’t get confused when looking for files to load. Add the folder and name it somehow – this will be your theme name.
2. Files
How does WordPress know that this is a theme there? Good question! It needs a special indicator. The alert flag for it is a .css file. We will use an open-source archive that generously provides blog template files.

Download and unpack it. There you have those two poles on which your WordPress theme will stand. Move both .php and .css files to your theme directory.
Ok, we are almost there with the setup.
3. Final adjustment
Rename the index.html file to index.php. You do it because HTML is a client-side language, while PHP is server-side. This means that by making it .php, you make it possible for WordPress to interact with your server and fetch the data. HTML cannot do that; that’s why all these backend files for your WordPress pages need to have php as an extension.
Elements
Your index.php file is the one that contains the code for the main page of your website. At this point, it has all sections you see on a page. Certain elements, such as the header and the footer, should be the same for all the pages you will have. Therefore, let’s make separate template files for them. We will split the original file into several new ones, each one for the corresponding page element.
1. Make them separate
This is merely removing the lines of code from index.php and pasting them into the new file. For the header, we cut the code from the beginning (in our case, from <!doctype html>) to the main body heading.
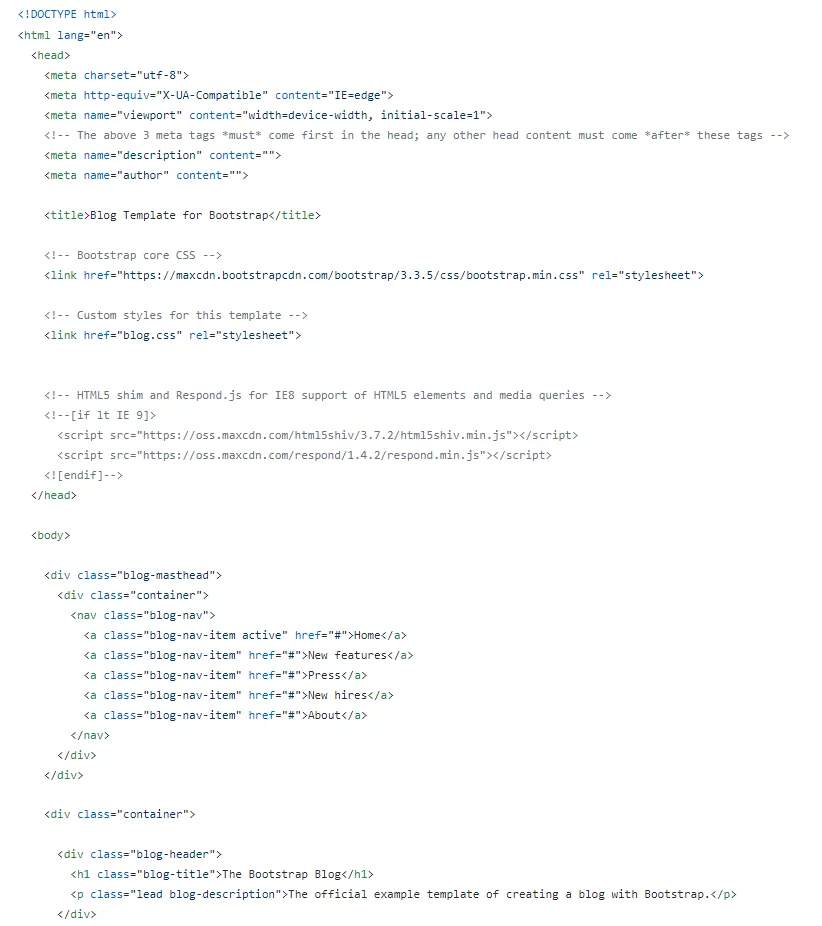
This will be our header. You also want to add a <?php wp_head(); ?> hook before </head>. It is necessary because it tells WordPress to output all the scripts and stylesheets related to wp_head.
Later on, you can build more pages and put links for them in the header. They will go in the nav on the place of ‘#’ that is currently there.
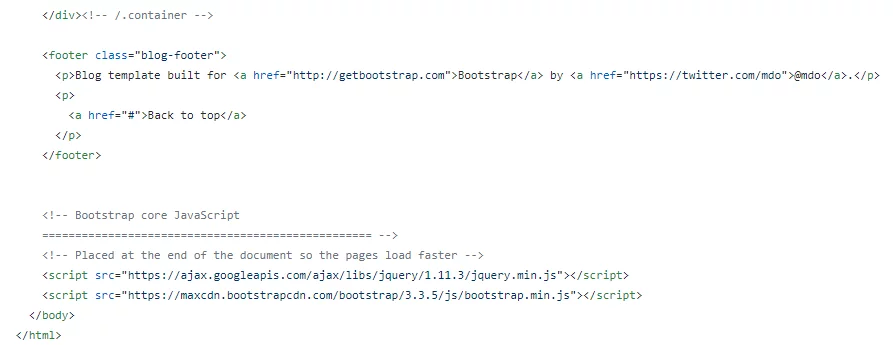
Do the same for the footer. The corresponding part of the code for it lays on the bottom. Again we need to make sure WordPress will output whatever is related. The hook is <?php wp_footer(); ?> Here is what your footer looks like:
A few notes on these two. When you work on your header, keep in mind that it is a good practice to link your logo and site title to the main page. It is something we all are used to see on every website, and neglecting it would result in a poorer user experience.
Find <h1 class="blog-title"> (this is where your title is) and paste this code on the place of the title itself:
<a href="<?php echo get_bloginfo( 'wpurl' );?>"><!-- site title --></a> Check the results: your title should now be a hyperlink to the main page.
You can similarly move the sidebar and the content to separate files.
2. Call the elements
Now you have separate files for the header, the footer, and there is still the original one. For WordPress to load the corresponding part, we need to call in the page code. This is a simple one-line story: the function get_ (); with the name of the section will do that. Each of the resulting functions must be located between the <?php and ?> tags, because this is how the server knows that they are to be parsed as HTML.
In other words, put <?php get_header (); ?> to the place where you cut the header code from; <?php get_footer (); ?> goes to the footer’s spot in the index.php – not too bad so far, right?
You get the pattern. The only major thing that remains is a spot for content.
3. The loop
The loop is a structural element of a page that displays your content. It has its name for a reason: the loop tells WordPress to perform a certain cycle. It is simple: if there is content and while it’s still there, your page displays it. Or, in code:
<?php if ( have_posts() ) : while ( have_posts() ) : the_post(); ?>You put your content after it and close the loop with <?php endwhile; endif; ?> piece. This is it!
We assume that index.php will load the page with blog posts. Hence, the loop goes in there. The content will load from content.php; so, make sure the post title and other information will be in place.
Check it – everything should work now. If any of your customizations don’t appear, hard refresh it to clear the cache from the previous page loads.
Now you most surely have a solid base for your theme. As we said before, it became a theme once you had your .css and .php in place. But now it is something more or less doable to use it as it is. By that, we mean that from this point on, you can carry on in a regular visual editor.
From a starter theme
Let’s say you prefer to stay away from coding as much as possible but still get a nice custom theme for your WordPress site. Another way to create a WordPress theme is to do that with a starter theme. This is an easier one than the previously described as it requires much less experience in web development. So, if you felt intimidated by the guide above, this will appear friendlier.
What is a starter theme to begin with? Simply put, it is a base for your WordPress theme with all the necessary files with code structures. That pretty much leaves no significant coding activity for you. This is, in an essence, going one small step further than customizing a theme. You can try that, too, and see which one works best for you.
Where can I find one?
Well, you have two options: either you download any basic theme on WordPress (for example Astra) and work on it with Elementor, or you get your own .zip file and upload it as your theme.
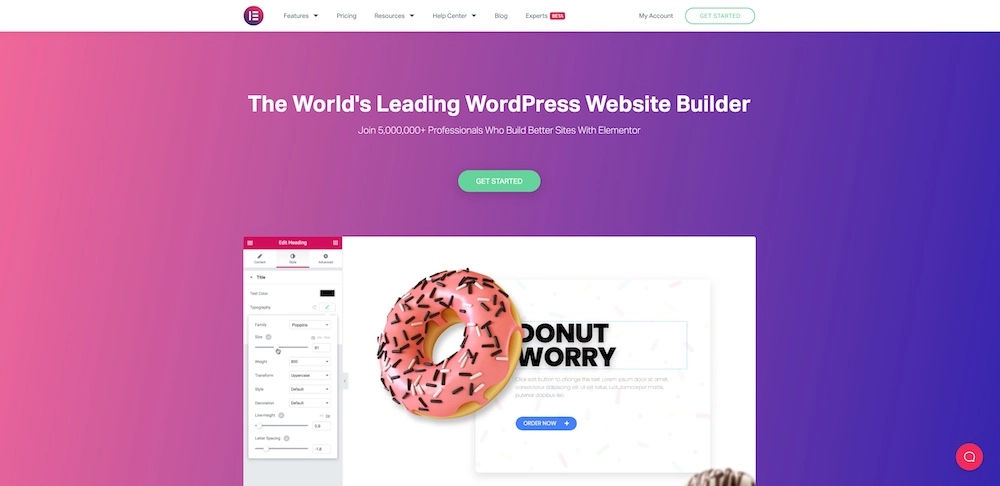
A few words on Elementor PRO. It is a premium version of the Elementor plugin, a well-known WordPress page builder. It is totally straightforward and convenient to build a theme with it; the only unfortunate thing about the PRO version is it doesn’t go for free. So, it is up to you.
NB: To work with Elementor PRO, you need to have Elementor installed, too.
Elementor PRO also offers pre-made templates if you don’t especially like going fully manual in editing.
All in all, the process is pretty intuitive and fun to try.
Ok, but what was that about a .zip file?
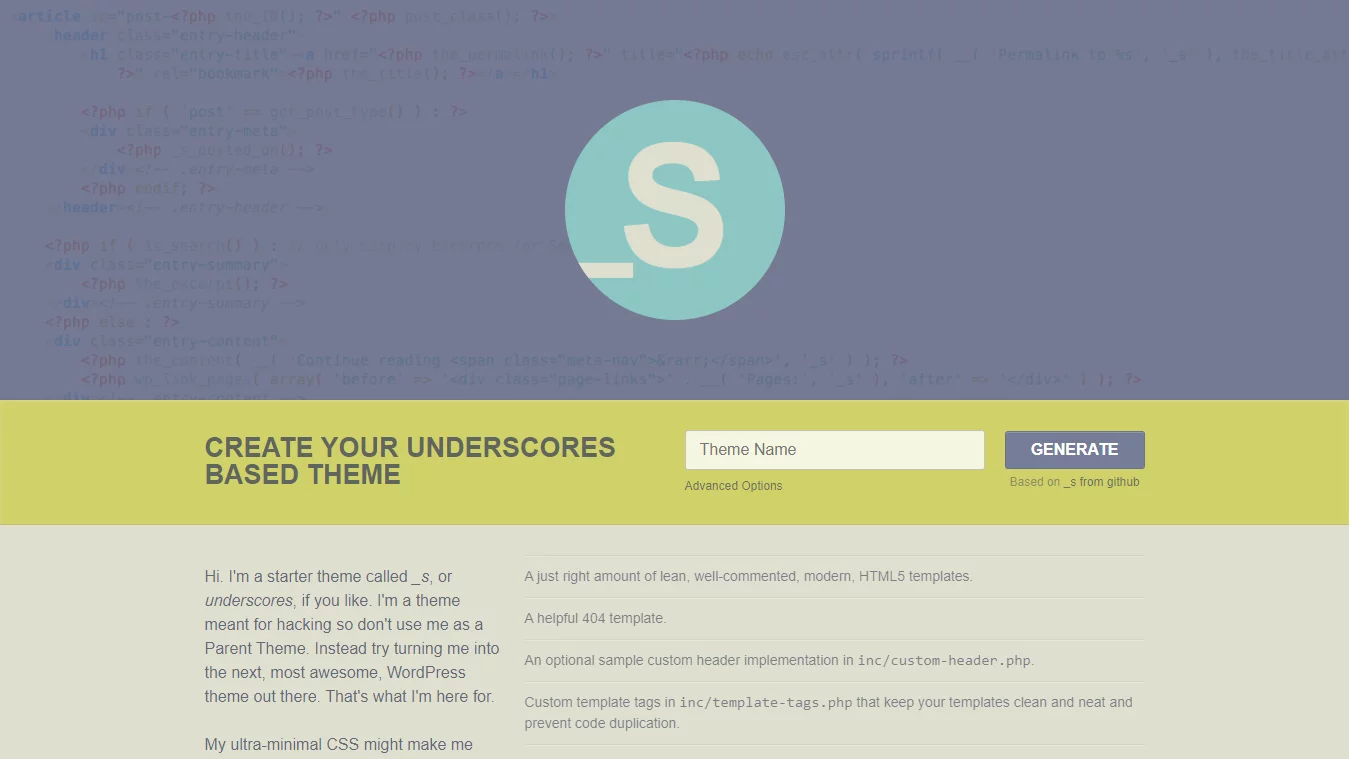
This is another starter theme-based method. You would need a third-party theme for WordPress like Underscores, for example (that’s the one Astra is based on, by the way). They generate a .zip we talked about, which serves as a foundation for creating and tweaking everything as you wish.
1. Download
All you need to do is name your future theme. The name and the slug must not repeat the already existing ones; otherwise, it will cause a conflict between the similarly named items.
In fact, there are advanced settings where you give such things as a slug (the readable part of the URL that will make your theme more recognizable) and some more information:
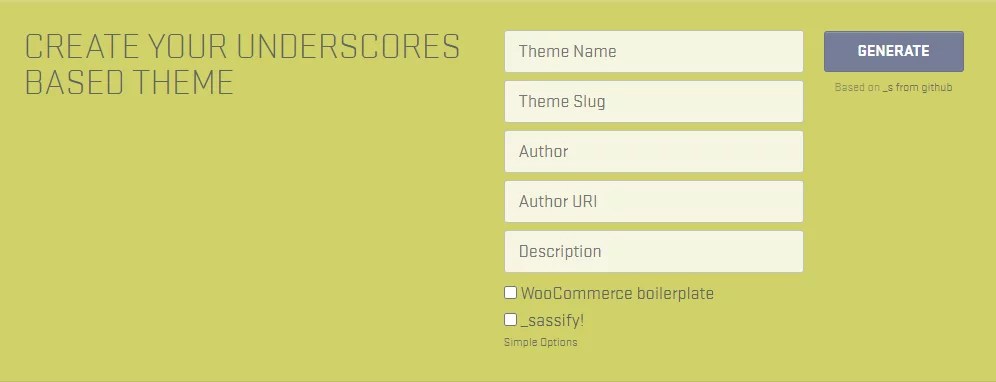
Now click Generate, and off you go!
You now have it downloaded on your PC as an archive.
2. Upload
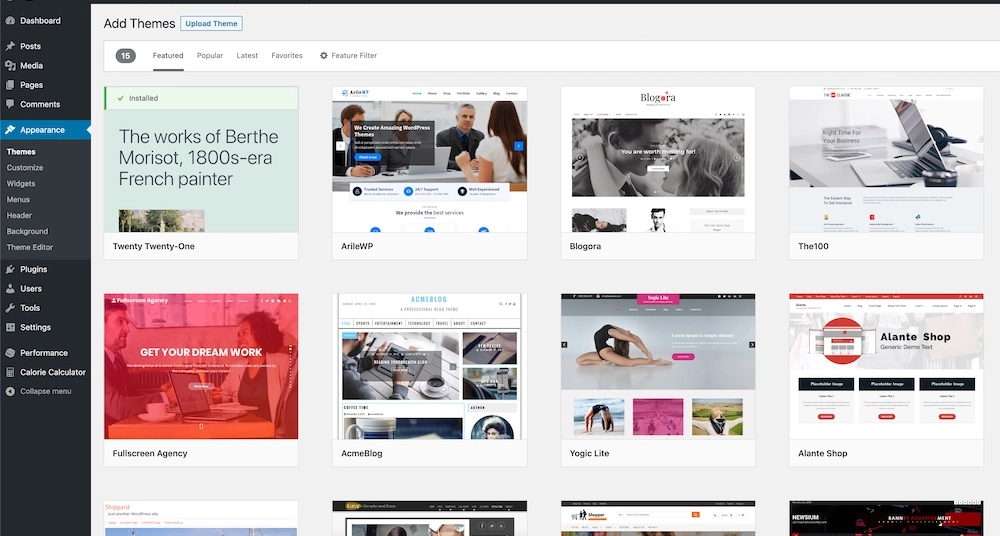
The next thing to do is upload it to WordPress. Go to Themes on your dashboard and click Add New, the button on the top.
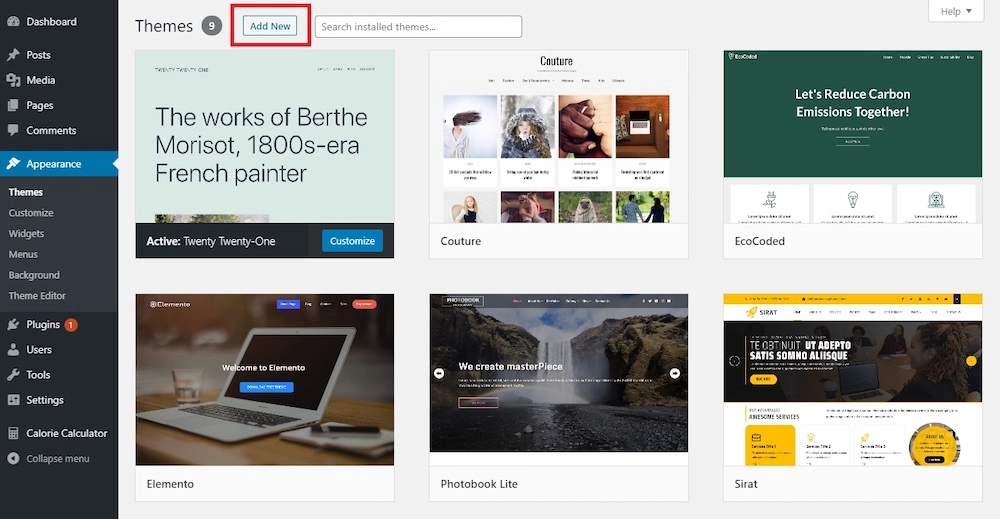
We are going to upload the just generated one. So, you are looking for the Upload Theme button next to the heading:
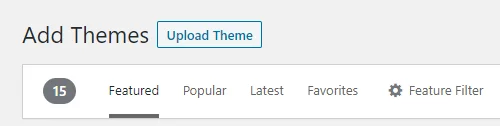
Click it and select the .zip file you got from Underscores before.
One really nice and helpful thing you get from using a starter theme is you don’t need to create the loop. This is probably the most crucial piece of code for your website because it displays the content. Not that we call the rest unimportant, obviously; but the content is the reason you created the website in the first place, right?
Anyway, the loop is there. Now we can start configuring the theme.
Configurations
Right now your theme is a blank canvas from the standpoint of style and functionality. It has only the default values for all parameters, but they are all there, and you can customize them as you wish.
A few words on the structure
Your theme, if we condense everything to the basic necessary minimum, can run on two files: index.php and style.css. They are responsible for functionality and appearance, respectively. What are they?
The index.php file is the one from which your main page loads. If WordPress doesn’t find any other specific files, it will load the page from there. There is an order in which WordPress is searching for the correct file for loading. The detailed visualization will tell you more about it, but, to sum it all up, there are five steps WordPress performs when it needs to access the template file.
Say, it is trying to display a post by a certain author whose username is John with a numeric ID of 1. The search starts with looking for a template file that matches this author’s name, then their ID, a template for displaying posts, then an archive and, finally, the default one we mentioned in the previous paragraph. This is the order:
- author-John.php
- author-1.php
- single.php
- archive.php
- index.php
WordPress will stop looking once it finds the matching one. That’s why it goes from smaller-scale (or more specific) units to the most generalized: it won’t look any further if the specific one is there.
Due to this, such elements as the footer, the header, the sidebar – those that should stay the same regardless of the page opened, need to have their own loading template files. Gladly, when you use a starter theme, this goes prearranged. Otherwise, you would need to redistribute the code between the files manually: go to the Elements paragraph of this tutorial to see what kind of fun you are missing.
CSS
CSS, or cascade style sheets, as you can guess from the name, contains style parameters for pages. So, if you are going to change the color, font size or any other style aspect of any element on your website (which you probably are, since you read this), you need to do it in the style.css file.
You can access this file through FTP (sFTP) connection. If you’re not sure what it is, please read our post about setting up FTP account.
To get the grips on what you can do with CSS, you can start with changing colors. Find the link colors:
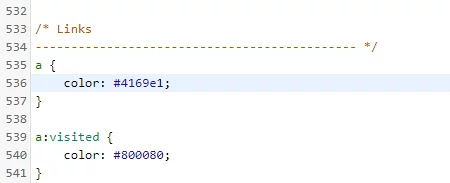
This color code stands for the default blue color of the unvisited links. You’ve seen this color a million times:
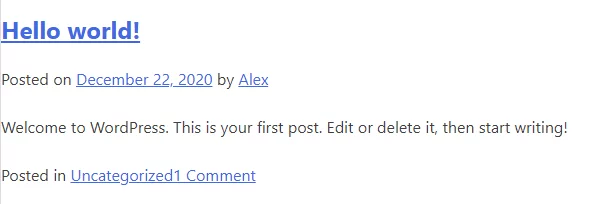
If we change it to some other color, for instance:
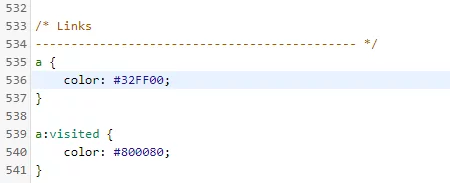
This would be the result:
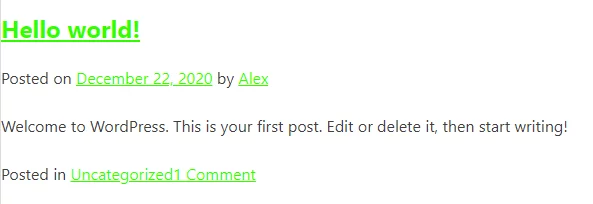
As you see, this small edit changed the color of your links. There are lots of things you can do by editing your style.css, but if you are not a fan of dealing with code, here is what WordPress has for you.
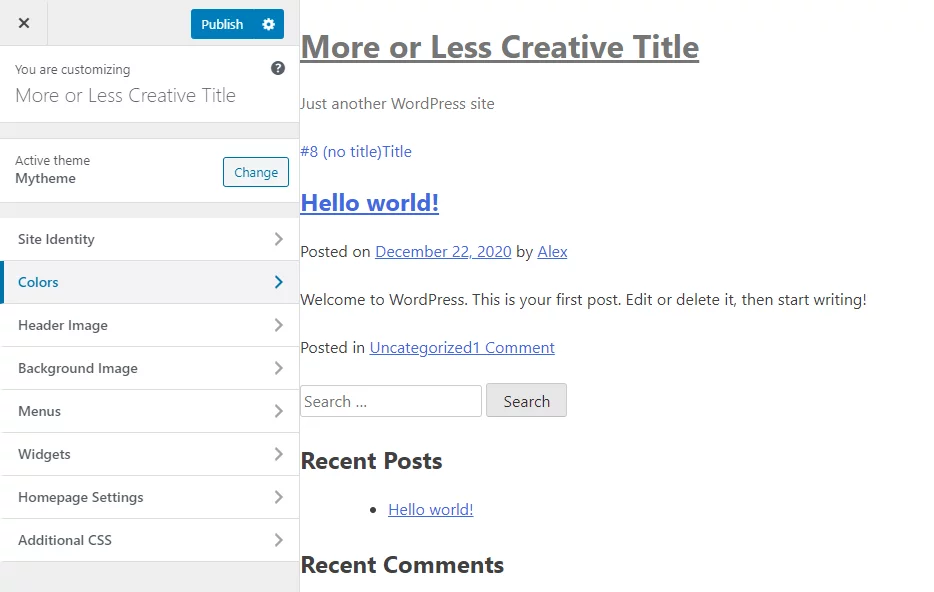
You can easily stay away from editing code directly. If you look at the Theme Editor, you will notice that above it WordPress offers using their built-in CSS editor.
Hooks
Hooks are an interesting device. They establish such a connection between pieces of code that allows one to interact with another. They are functions that help WordPress understand what it has to do (Action hooks) or how (Filter hooks). You can read more on hooks here.
There is a whole hooks database where you can find the existing hooks.
There are templates for various pages like 404, Search Results and whatnot. But you don’t have to leave it at that! Think of what else you may need there, what kind of menus and buttons will link all those items together. Here is where your creativity can fully open up – see it in action. Make things your own, unique way.
Everything in WordPress is user-friendly enough, and you won’t touch a line of code if you don’t look for it specifically. You can, in fact, simply follow the suggestions, and you will achieve something in the end. But those are no guidelines, and of course, such practice cannot lead you to a truly impressive result. You need a thought-through plan and preferably a detailed design project.
Finishing up
Congratulations! It was a long road, but you’ve managed, and now you have your custom WordPress theme. Now that you are done with adding and configuring it, we strongly recommend checking everything.
Start with fixing any errors that may occur. See our post on how to control PHP errors – there is a lot of useful information in it.
Run a check with Theme Unit Test data to test how your theme handles various styles and types of content.
Review whether or not your theme complies with the standards (which it should). There is more helpful information on this in the WordPress Codex.
Don’t forget to make your theme responsive: it should adjust well to different screen sizes.
After you make sure everything is working fine, you can export your masterpiece as a .zip and share it with the community (if you feel like doing so, of course).
Practice makes perfect!
The main reason we’ve provided two guides in one article is that you will get more curious as you go. Look back at how you thought of the process in the beginning: it seemed not doable then, but you did it! If you chose the starter theme way this time, try the other one at some point later on. It gets more and more interesting as you dig deeper.


