


Intro
Have you ever thought about what actually happens when you type a domain in your browser and press enter?
When you load a WordPress website into your browser, a lot is happening behind the scenes. The client-side languages CSS, HTML, and Javascript are run in your browser, making sure the site has the right structure and design – and that the right thing happens when you click a button.
Where does PHP enter the equation? As opposed to the mentioned languages, PHP is a server-side language, meaning it lives on your server rather than in the browser of the visitor. PHP is in direct communication with the database and thus responsible for serving your WordPress website with the right data at the right time.
While client-side languages can execute differently depending on the browser used, PHP as a server-side language does not change with the browser. However, this means that you are responsible for solving any performance issues arising due to PHP. And that’s why we’ve got you covered with this guide!
PHP and WordPress
PHP is the backbone of WordPress. It is used for both the frontend and backend. The WordPress dashboard itself is coded in PHP – as are the page templates and source files for themes and plugins. That’s why your WordPress website is only as great as your version of PHP!
PHP is even used for other popular sites such as Google and Facebook.
However, many of us update PHP too rarely. Maybe because we fear that our site might get ruined if we do it wrong. Here, we’ll teach you how to upgrade PHP for WordPress in a safe way. Let’s dive in!
Why Upgrade PHP?
PHP now follows a regular release schedule, with new versions being maintained for two years plus one year of critical security parameters upgrades.
It’s important to stay up to date with the latest version of PHP. But why?
- Security: Updating your PHP version makes your WordPress site more secure.
- Speed: Each new version is faster than the previous ones. And as visitors have all-time low patience when it comes to loading time, having the fastest version decreases the risk of losing your visitors to your competitors.
- Lower resource-consumption: Another aspect of performance – the newer versions of PHP allows more people to visit your WordPress site while the server does less work.
- Better error handling: The latest version of PHP is also the smartest. It manages to deal with script errors without terminating the process and making your site go down.
- WordPress recommendations: The official WordPress recommendations is to always be à jour with the latest PHP version. I don’t know about you, but I trust these guys!
Step 1: Check Your Current PHP Version
The first step in updating the PHP version of your WordPress website is to check your current version. There are two ways to do this:
In Your Hosting Management Panel
Checking your current version through your hosting management panel is the most straightforward way.
- Log in to your hosting account.
- Depending on which provider you have, you’ll find something like PHP Settings, PHP Version Management, or similar. Go here to check which version you’re using.
For example, in Bluehost, one of the big names in hosting, it looks like this:
- Log in to your dashboard.
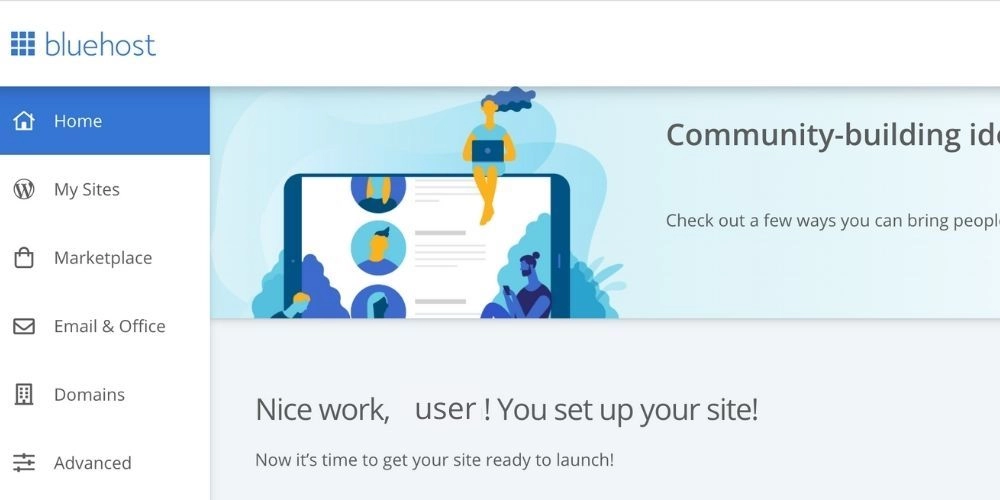
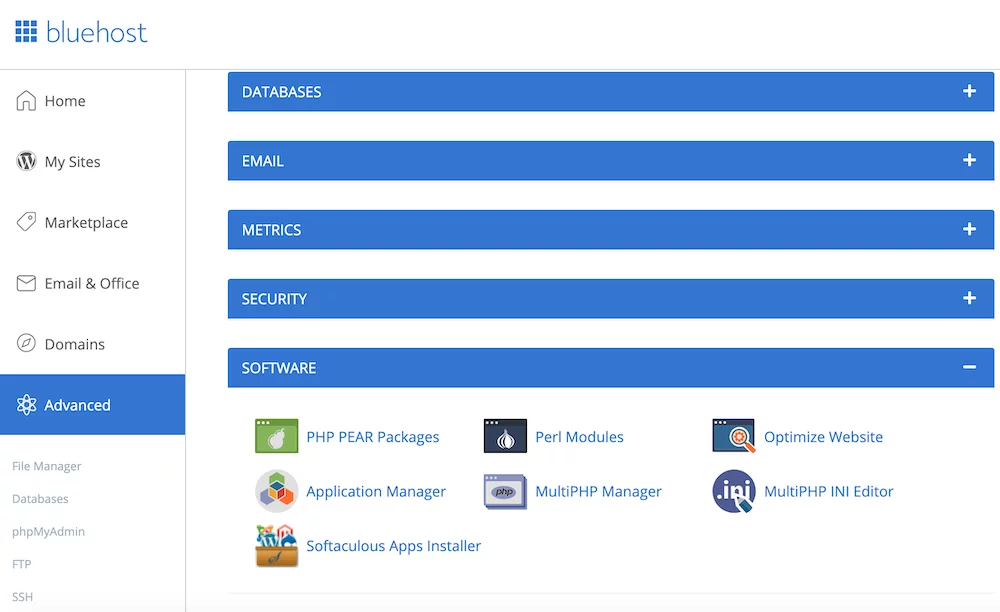
- In the sidebar to the left, click Advanced at the bottom
- Scroll down to the Software section. Click on MultiPHP Manager.
- This will show you the version your WordPress site is currently running on. If it’s older than the latest version, a deprecation warning will show up together with a recommendation to install the freshest version.
If you’re familiar with PHP, here is also where you can configure the PHP.ini file making edits to server functionality. PHP.ini is the setup file for PHP that is run first of all when PHP is used.
With a Plugin
There’s a plugin for virtually everything in WordPress – so also for (surprise) checking your PHP version. Some of these are
- Display PHP Version
- Query Monitor
- WP Health
- Yoast (via notification)
- SG Optimizer (for SiteGround users)
Here, we’ll show how to use Display PHP Version.
- Install the plugin from Plugins > Add New in your WordPress dashboard by searching for PHP Display Version, then clicking Install Now and Activate.
- Click Dashboard at the top of the sidebar.
- Scroll down and you’ll see a box saying At a Glance. Here, you’ll see the PHP version.

Step 2: Create a Staging Site
A good idea is to create a staging site to test the updates before performing them on your live site. As you might have feared, there’s a non-negligible risk of incompatibility between all the building blocks of your WordPress websites – such as themes and plugins – that might have the site go down with an upgrade.
Many of the big hosting companies offer the possibility to create a staging site. It’s nothing but a clone of your live WordPress website that lets you play around with modifications and see the results in your browser without risking to break anything. Creating a staging site used to be complicated, but is now so simplified you don’t even have to be technical to do it!
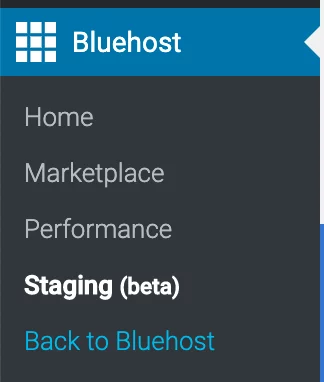
For example, if Bluehost is your provider, just navigate to your WordPress dashboard and click the Bluehost icon on the top of the sidebar. Then click Staging (beta).
Can’t you just create a toy WordPress site in a local development environment, such as MAMP?
The advantage with a staging site is that it uses the same server as your live WordPress site, while local sites run on your local server. You can therefore not be sure that the site will behave in the exact same way when running locally. And since PHP is a server-side language, it’s clever to test it on the same server that runs your live site.
The cool thing is that once you’re done, you’ll be able to push your cloned site to your live site just like with Git.
If you don’t wanna go through your hosting provider, or if your hosting provider doesn’t offer staging sites, there are (guess what) plugins helping you create a staging website on the fly. Examples of these are BlogVault and WP Staging.
Step 3: Upgrade Themes and Plugins and Make a Backup
Once you have your staging site, your next step is to make sure your WordPress plugins and themes are up to date. This will make the PHP upgrade smoother and reduce the risk of bugs.
If you have fairly well-known and popular WordPress plugins and themes, they should be compatible with the latest version of PHP. Having your site up to date is also essential for security reasons.
Start by installing a backup plugin in WordPress if you don’t have one already. This simple solution makes sure you can revert back to the older version of your site if any updates don’t go as planned. Some backup plugins are:
- Backup WordPress
- Updraft Plus
- WordPress Backup to Dropbox
- VaultPress
- BackupBuddy
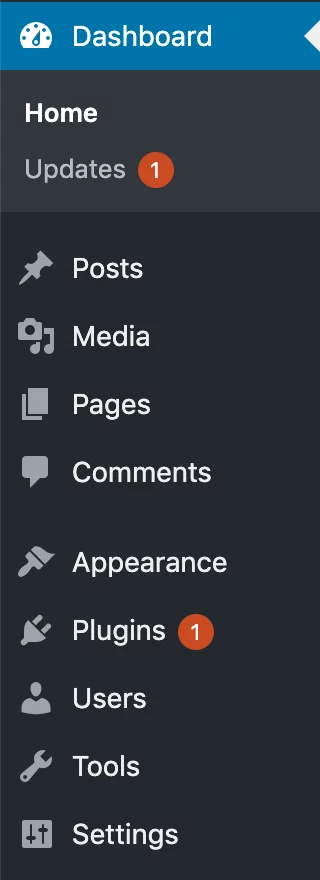
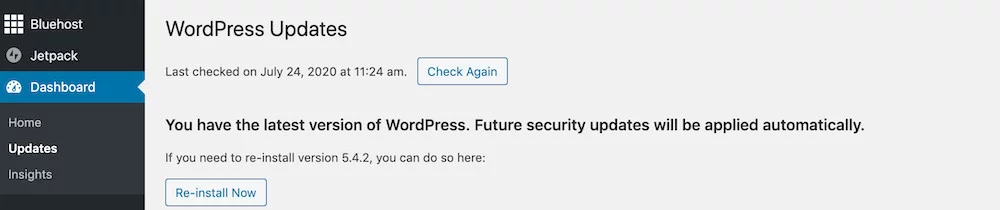
When your site is backed up, it’s time to upgrade the plugins and themes one by one. In your WordPress dashboard, head over to Dashboard > Updates and go through the plugins. Here, you’ll also get a notification if you need to upgrade the WordPress core.
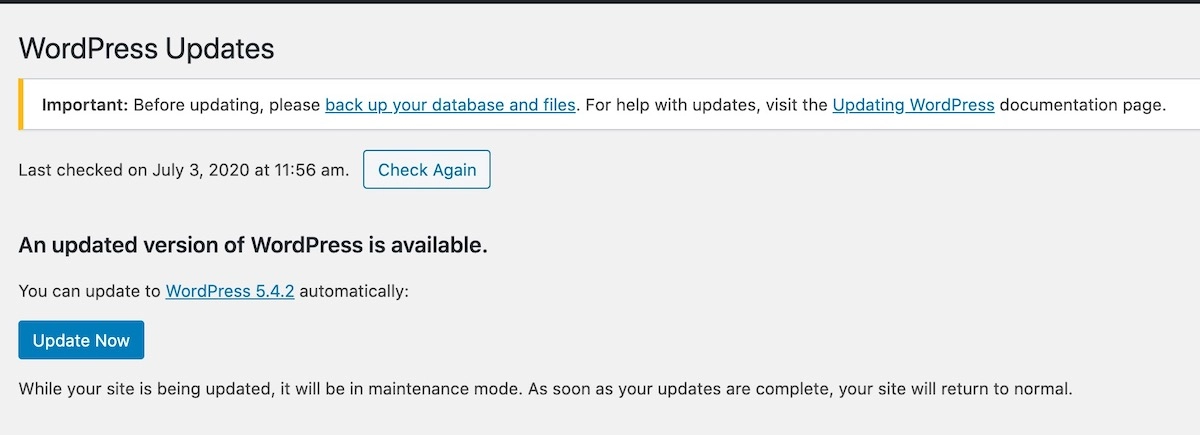
Make sure to upgrade all of your plugins and themes (and core if necessary) before moving on to the next step.
Step 4: Check Compatibility
In the best of worlds, all of your plugins, themes, and the WordPress core should be ready to transition into the latest version of PHP without friction.
However, there might still be glitches. That’s why we’ll use yet another plugin to detect compatibility issues!
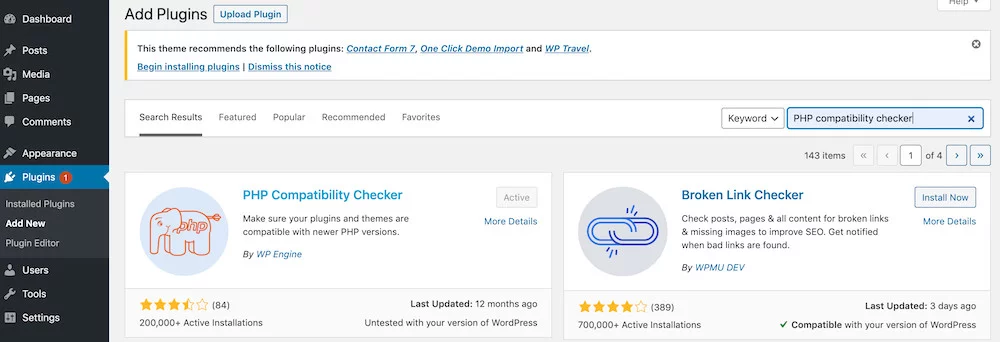
Go to Plugins > Add New and search for PHP Compatibility Checker. Install and activate the plugin.
To use it, go to Tools > PHP Compatibility.

Here, you can choose for which version of PHP you wanna test the compatibility.
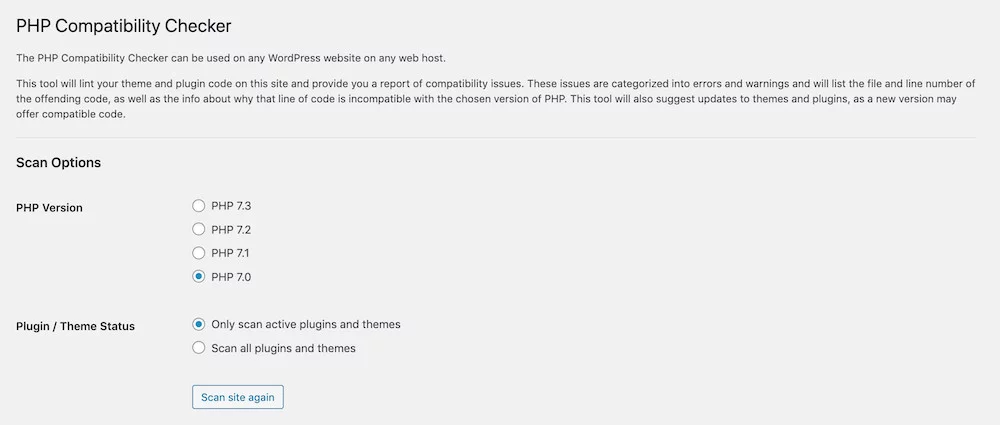
The plugin will run a scan and tell you what might cause a clash. You’ll get a list of errors and warnings down to the code line in the theme/plugin where they appear.
This helps you delete or replace WordPress plugins that might not be compatible with the newest version. Another solution is to reach out to the developer and ask if they’re willing to upgrade the plugin.
Note that PHP Compatibility isn’t 100% reliable, as can be seen from the reviews. It might sometimes flag warnings even for plugins that are up to date.
Step 5: Upgrade PHP for Your Hosting Account
By now, you should have all your plugins and themes updated and have checked that they’re indeed compatible with the latest version of PHP. Time to level up!
There are two ways to do this. One is via SSH. Since this is an advanced option, we won’t cover it in today’s article but instead encourage you to learn more about that if you’re interested.
The second, easier way is through the admin panel of your hosting provider. It will differ slightly depending on what hosting provider you use – for most hosts, you’ll log in to your account, then navigate to the Software, Programming or Advanced section, locate the PHP version manager and do the version change from there.
We’ll walk you through how to change the PHP version for the most common hosting providers. Note that not all hosting providers offer the latest version. If your provider is unusually slow with allowing updates, you might consider changing to another web host.
How to Update PHP on Bluehost
- Start by logging in to your Bluehost account.
- From the dashboard, click Advanced in the sidebar to the left. Scroll down to the Software section. Click MultiPHP Manager.
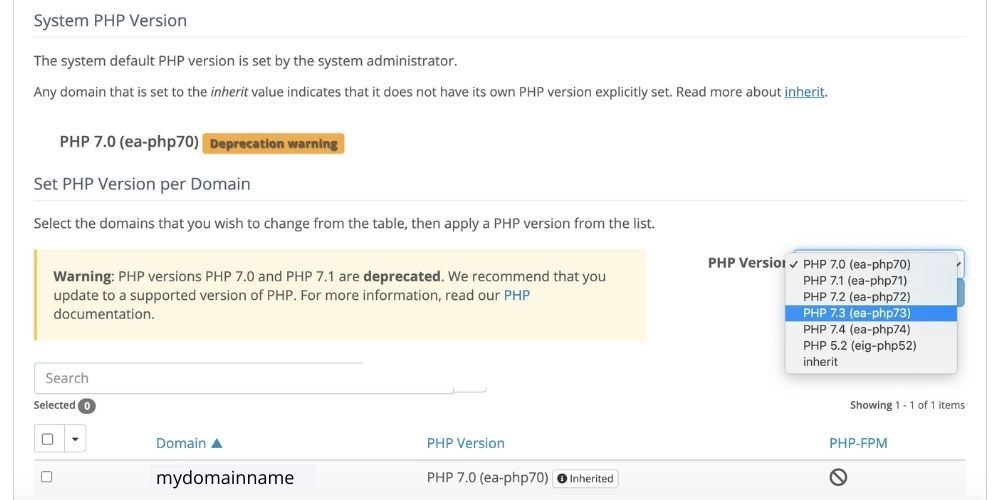
- Here, you’ll get a message telling if your version is up to date or not (my bet is that it’s not since you’re reading this!). Tick the checkbox in front of the site for which you wanna change the PHP version.
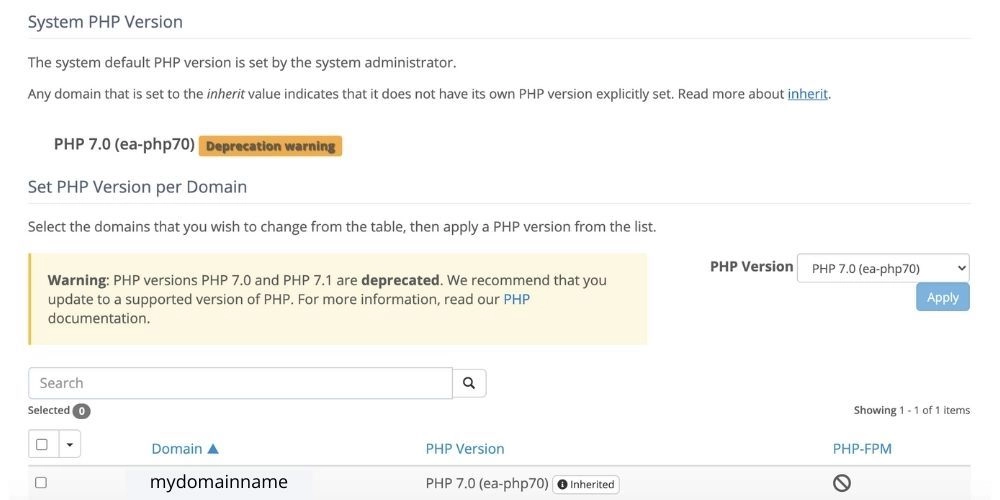
- Then go to the dropdown above to the right that says PHP Version. Choose the latest version – at the time writing, it’s 7.4. Click Apply.
That’s it!
How to Update PHP on SiteGround
- Log in to your SiteGround account.
- In the sidebar to the left, click Devs.
- Click PHP Manager.
- Click on the edit icon
- Change to your desired PHP version and click Confirm.
How to Update PHP on Cloudways
- From the dashboard, head over to the Server tab. Select your server.
- Go to Server Management > Settings & Packages
- Select the PHP version you want and click Save.
- A warning message will pop up alerting you that your site may break if you haven’t upgraded everything – since you’ve dutifully followed all the steps in this article, you can click OK.
How to Update PHP on HostGator
- Log in to the cPanel.
- Go to the Software section. Depending on what server you’re using, you either have PHP Selector or MultiPHP Manager. Click the one that shows up for you.
- For MultiPHP Manager: Tick the checkbox in front of the site for which you wanna change the PHP version, then choose your desired version from the dropdown menu to the right. Click Apply.
- For PHP Selector: You’ll see a file tree with all the files related to your website. Navigate to the directory that holds your website. In most cases, the document root for your primary site is located in the public_html folder. Go to the dropdown menu and change the PHP version. Click Update.
How to Update PHP on WPEngine
- Log in to the User Portal. Click Sites.
- Select the environment for which you wanna make the upgrade.
- In the Environment Stats section, locate PHP Version indicating your current version.
- Click on the number in blue. This shows a popup allowing you to choose a new PHP version.
- Select the desired one and click Change PHP Version.
How to Update PHP on GoDaddy
- Log in to your GoDaddy account.
- Click Web Hosting.
- Click Manage next to the hosting account you want to use. You can now see your PHP version in the Server section.
- From the More section, go to Programming Languages.
- Select your preferred version, then click Continue.
How to Update PHP on A2 Hosting
- Log in to your cPanel.
- In the dashboard, navigate to Software > Select PHP Version.
- Select your desired PHP version.
How to Update PHP on Namecheap
- Log in to the cPanel.
- Scroll down to the section Exclusive for Namecheap Customers.
- Click Select PHP Version.
- In the Current PHP version dropdown, select the version you want.
- Click Set as current to apply the changes.
How to Update PHP on Dreamhost
- Within the panel, navigate to Manage Domains.
- To the right of your domain name, click the Edit button located under the Web Hosting column.
- Head to the Web Options section. Select the desired PHP version from the dropdown menu.
- Scroll down and click Change settings.
And voilà – your site is now running on the latest PHP version!
Step 6: Check Your Site for Visible Errors
Now, keep your fingers crossed and head over to the browser. Ideally, the site should work just fine. Browse and click around to check if anything is broken.
Start by looking for evident errors – in the next step, we’ll test the functionality.
If you get a 500 error or white screen, it might be a theme or plugin that’s incompatible. Let’s look at how to fix this!
Step 7: Test Your Site
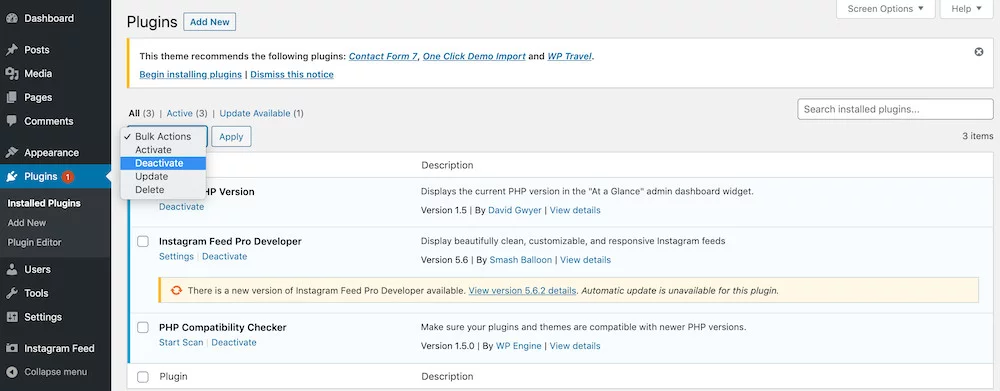
Up next is to perform a more profound testing of your site. If you encountered any errors in the previous step, disable all plugins by going to Plugins > Installed Plugins. Locate the Bulk Actions dropdown just above the list of plugins, and select Deactivate. Click Apply.
Next, re-enable them one by one to figure out which one caused the bug. And don’t worry – since you’re working on your staging site, there’s no risk of breaking anything.
A more advanced option that we’ll not cover here is to deactivate plugins using FTP. This is the way to go if you can’t access the WordPress dashboard because of an error.
The same procedure can be done for your themes. You can temporarily revert to using the default theme (for example, Twenty Twenty Two).
Enable Debugging in WordPress
Debugging can be done in two ways: with a plugin, or via FTP (File Transfer Protocol).
Plugins are the most straightforward way. Some plugins you can install for this purpose are:
- Query Monitor
- Debug Bar
- Log Deprecated Notices
These plugins print out the error that will help you target the problem. WordPress also has a built-in debug logger displaying the errors for you. This logger is activated by modifying the PHP source files. Since your staging site’s PHP is running on the distant WordPress server, you need to sneak into that system to access the PHP files. That can be done through FTP.
FTP allows you to “hack” into the distant server to access and modify the files stored there. The steps are as follows:
- Download an FTP client. Some common ones are Transmit, CyberDuck, and FileZilla. The later ones are compatible with both Windows and Mac. We’ll use CyberDuck for the purpose of this example.
- Install the FTP client like any other app. Then open it:
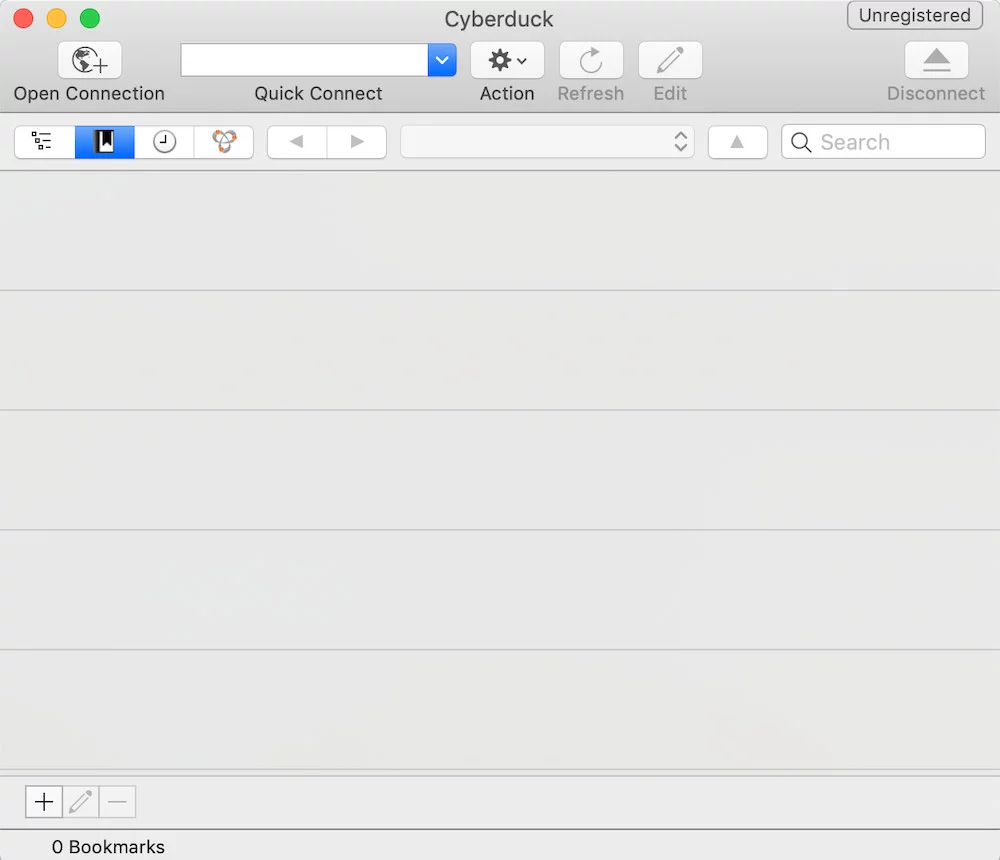
- Click Open Connection in the top left corner.
- Choose FTP from the dropdown at the top.
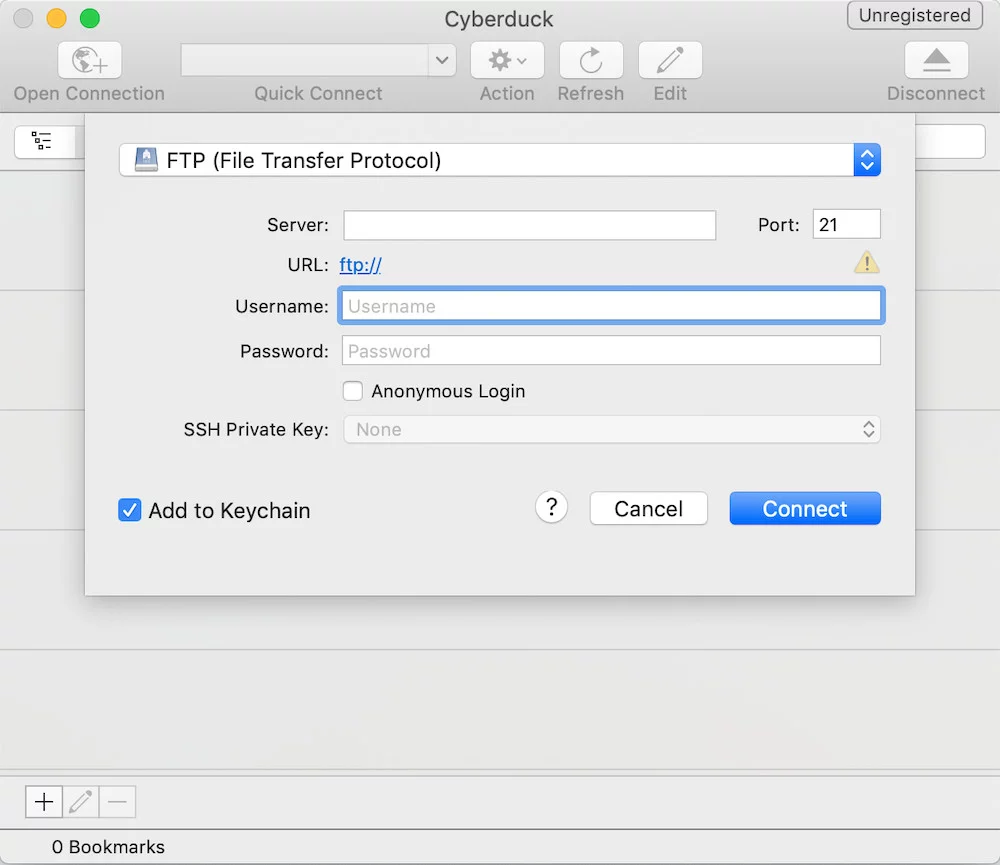
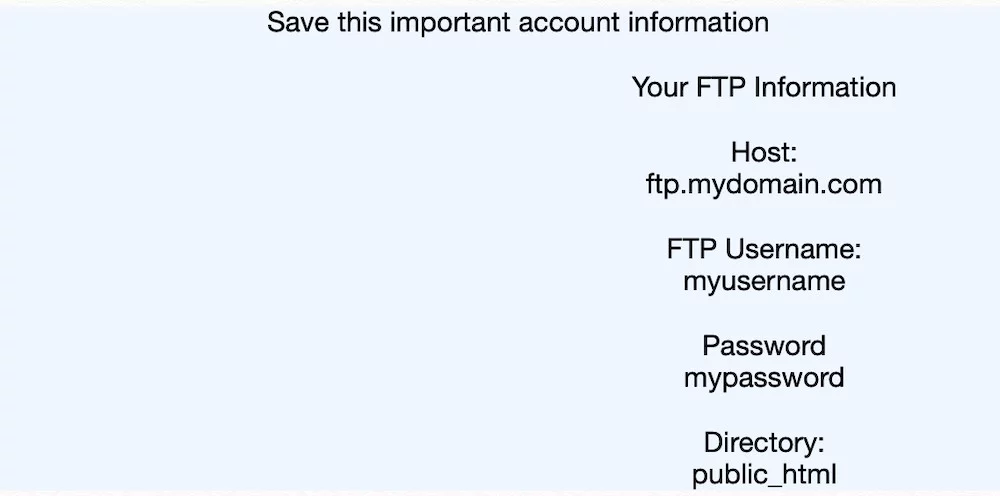
You’ll then need access to the credentials you got when signing up for your hosting provider. If you’ve lost these, contact your hosting company. Otherwise, sign in using the server and username provided. The password is the password you use to log in to your hosting provider.
- If you get a popup telling that your connection isn’t secure, click OK to continue. You’ll now access the files related to your site that are living on the distant server!
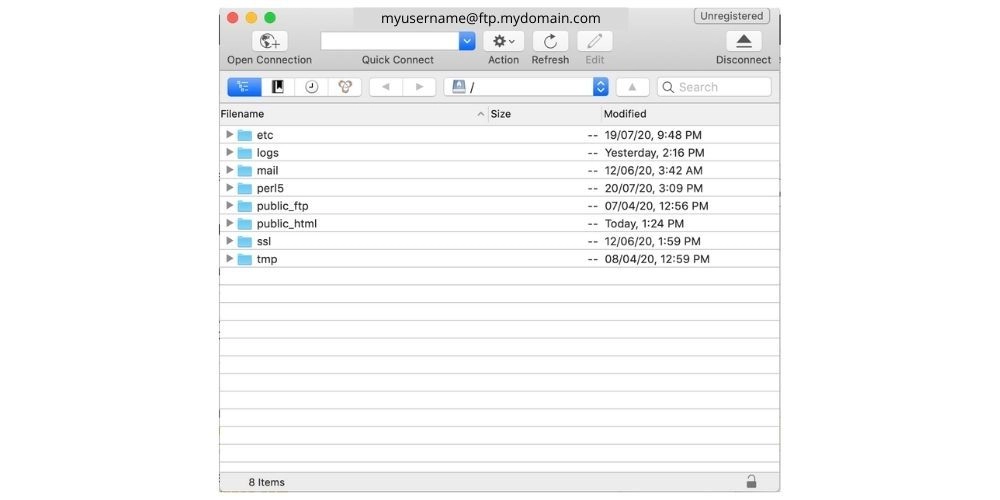
- Next, click public_html. In this folder, you’ll find a file named wp-config.php.
- Right-click on wp-config.php and select Edit With. Choose the text editor of your choice (TextEdit is the default on Mac).
- Now, you have the wp-config file open that executes when you load your site. Locate the line define(‘WP_DEBUG’, false);. Change the boolean false to true.
- Add the code line define( ‘WP_DEBUG_LOG’, true ); which will create a file located in /wp-content/debug.log. This writes a log of all the errors and saves them in the file debug.log. Click Ctrl + S to save your changes.
- The debugger is now activated and will show error messages on your site, and save them in the debug.log file for your convenience. Note that you should only use the debugger on your staging site, and not on your live site.
Other Solutions
If you still have troubles pinpointing the issue, consider deleting the plugin causing the bug or replacing it with an alternative one.
If the problem is that a plugin or theme isn’t compatible with the new WordPress version, you can always reach out to the developer asking them to upgrade the plugin or theme. In case this is not possible, and you really need the plugin on your site, consider hiring a WordPress developer to help you.
And if all else fails, you can always revert to an earlier PHP version.
Finally, remember to clear the cache when you have made changes. Sometimes, your edits are correct – but the browser doesn’t show them because the old version of your site is saved in the cache. Clearing cache assures you get the latest updates when loading the site.
Step 8: Push Staging to Live
Once you’re happy with the results on your staging site, you can either push your staging site to live or make the necessary edits to your live site and then upgrade its PHP version. Pushing the site is recommended if you needed to make many changes, as this will save you time.
How exactly to push your site to live depends once again on your hosting provider, but it will be a walk in the park considering all the steps you’ve already mastered!
Step 9: Stay Up to Date
To get the latest news about when new PHP versions are released, it’s recommended to follow your hosting provider on social media. They will alert their followers once a new release is integrated.
Also, some hosting providers are quicker than others to implement the latest PHP version. If you find that yours is unnecessarily slow, you might consider changing hosting provider.
Conclusion
In this article, we’ve covered how to update the PHP version of your WordPress website in a safe way. You’ve learned how to check your current version, upgrade your WordPress themes and plugins, change your PHP version in the backend of your hosting provider, and debug. You also know what to do if there seems to be no way out.
We hope that you’ve enjoyed this article! In case you got hooked on updating, check out our article on how to update your WordPress website.
And stay tuned with the latest articles by following us on Facebook and Twitter! Last but not least, feel free to share this article with anyone who might benefit from it. Sharing is caring!


